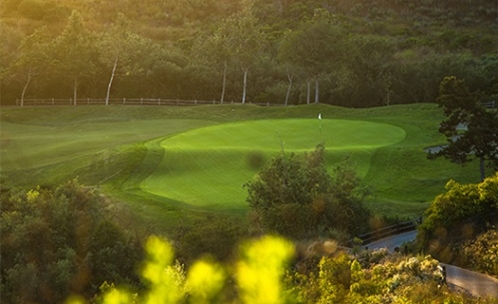
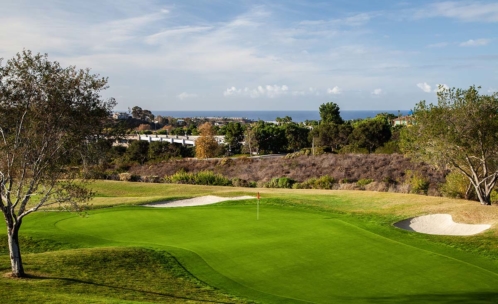

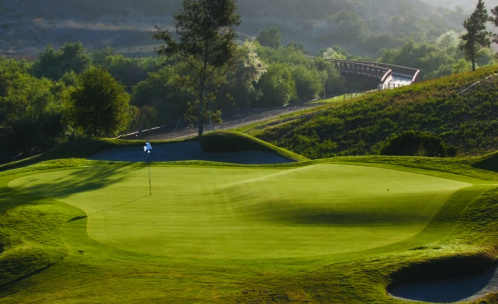
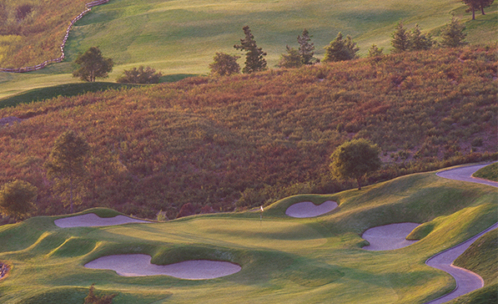
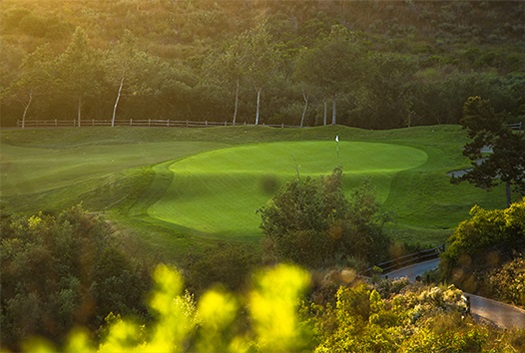
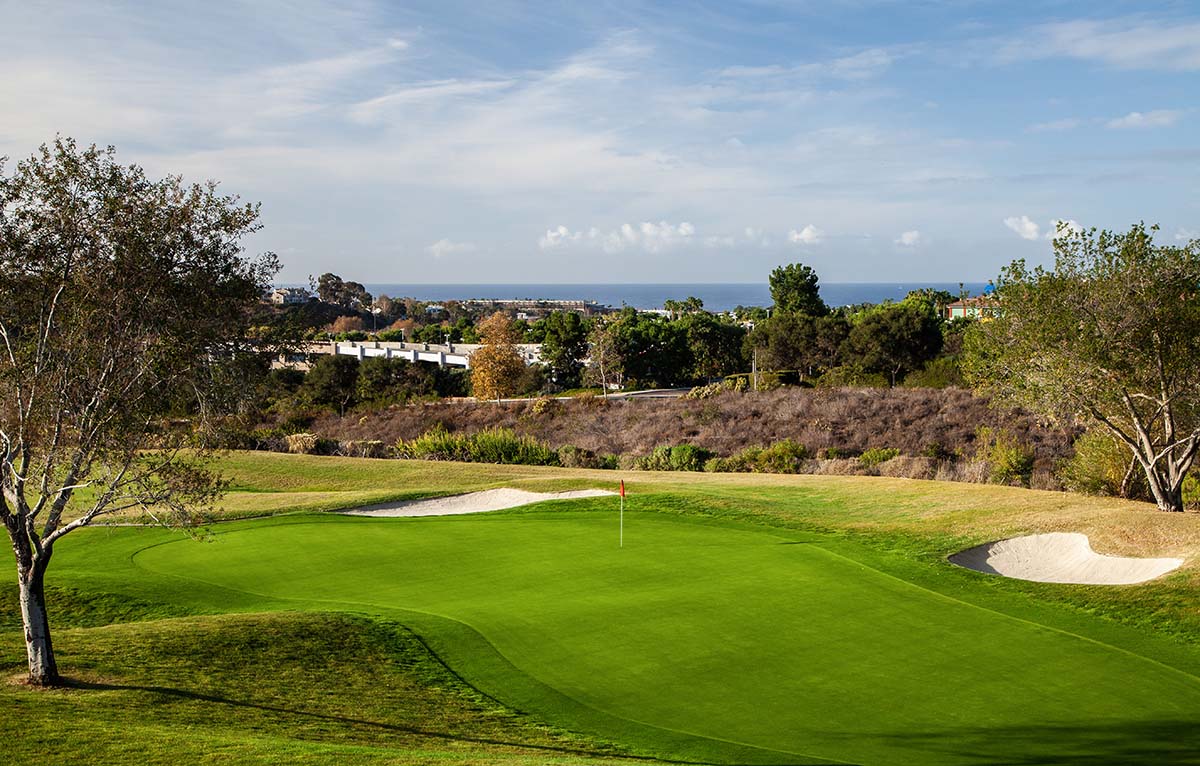
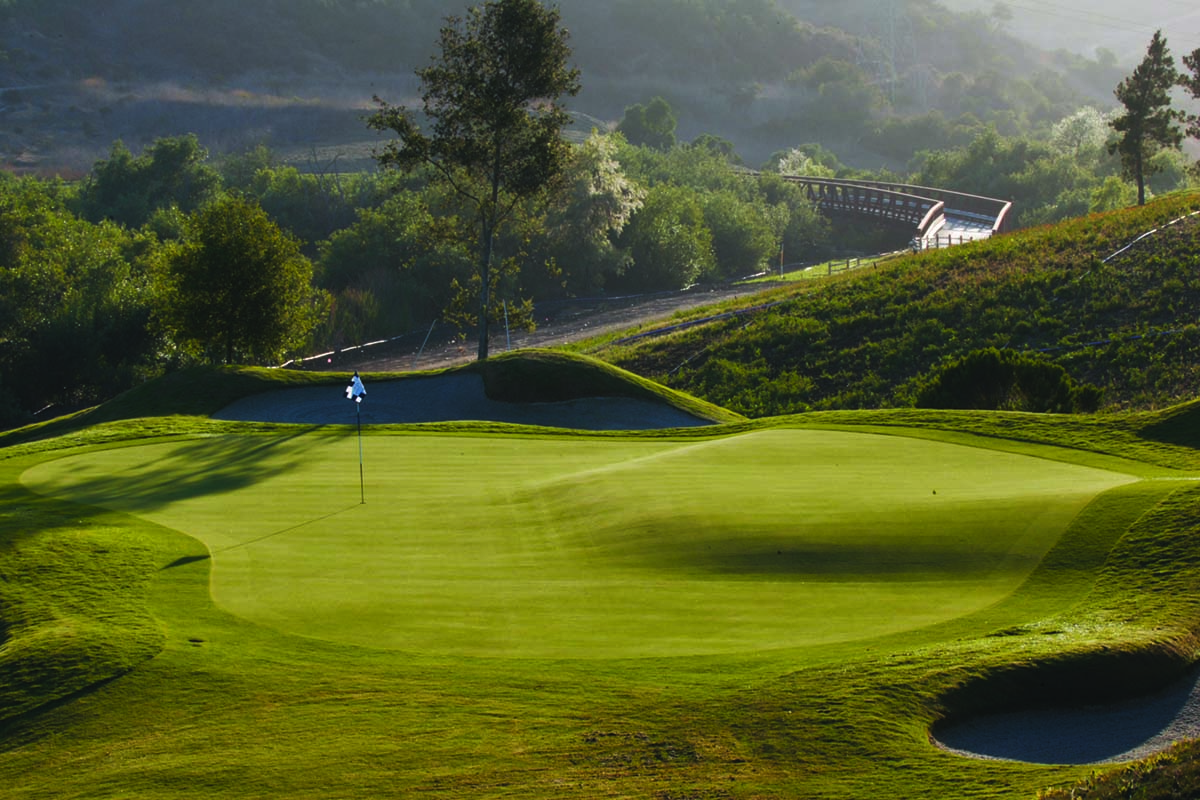
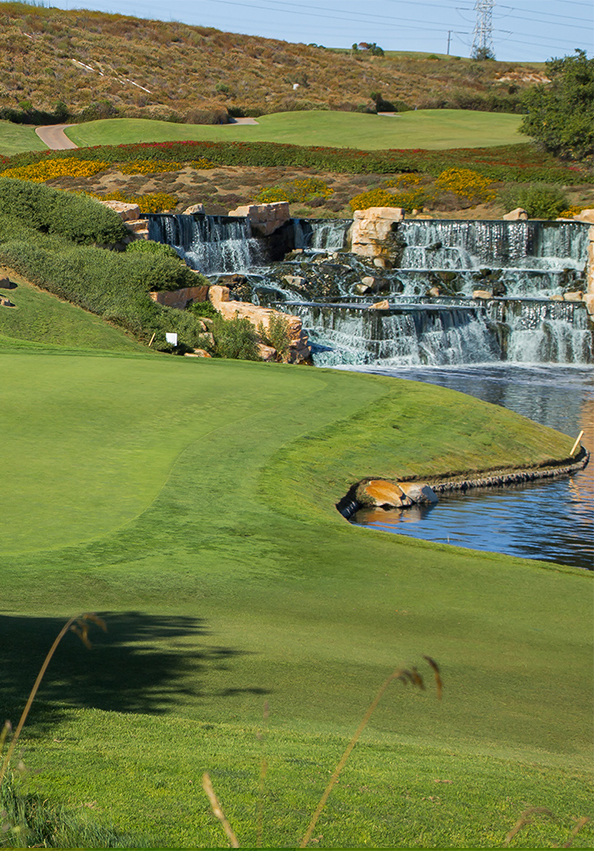
 Hole #9, Par 3
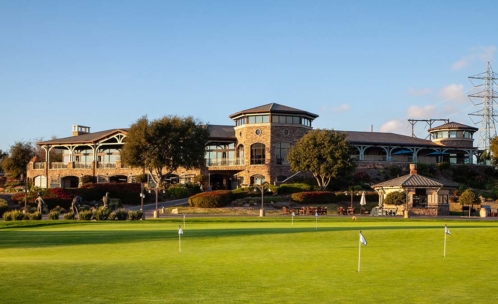
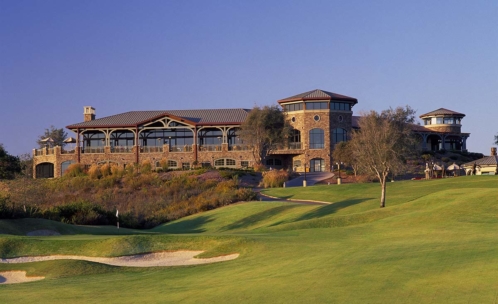
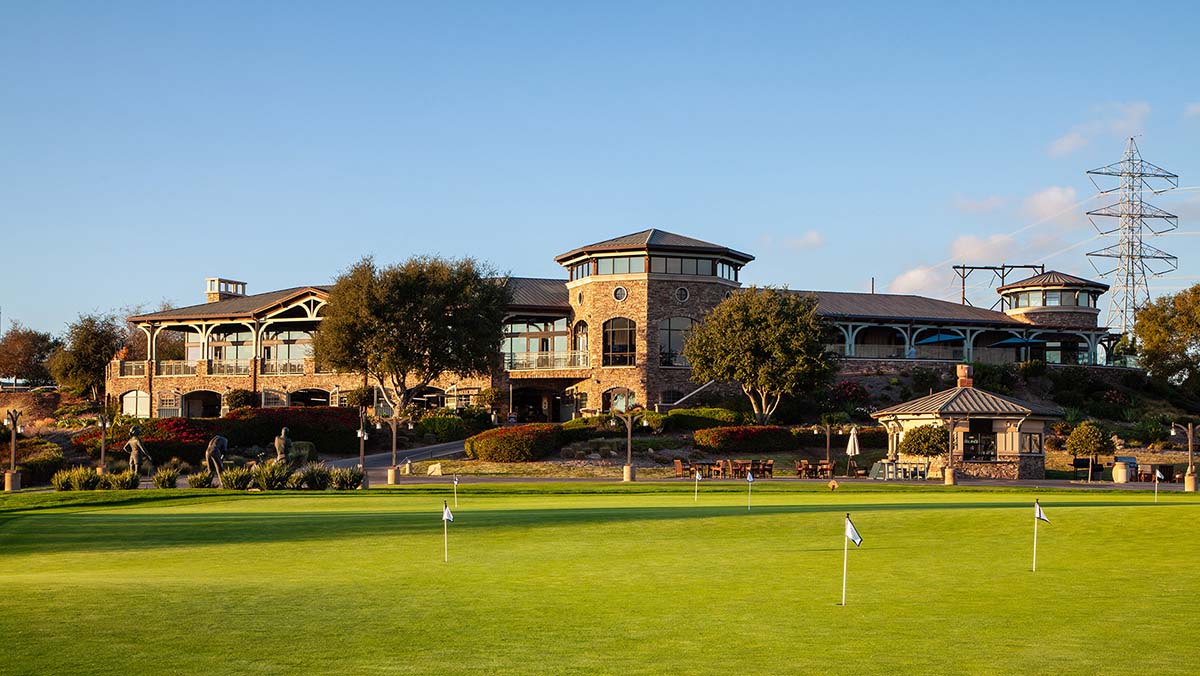
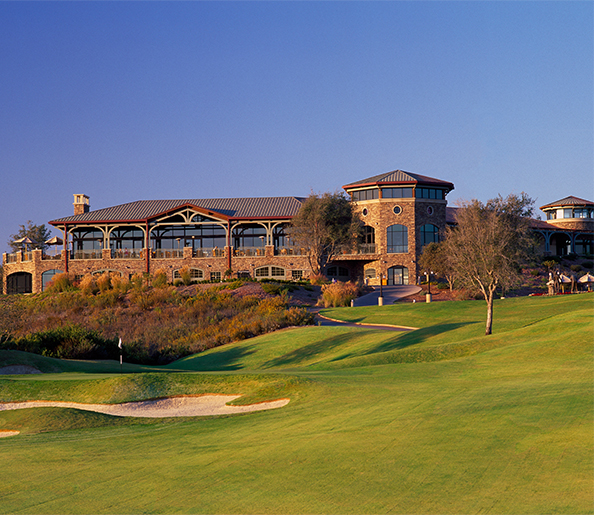
Clubhouse in background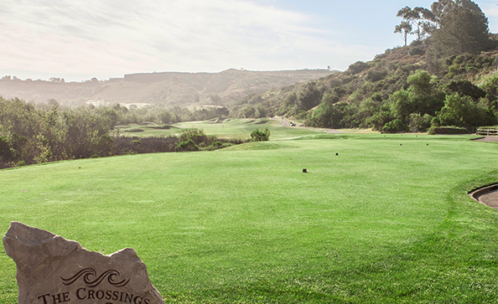

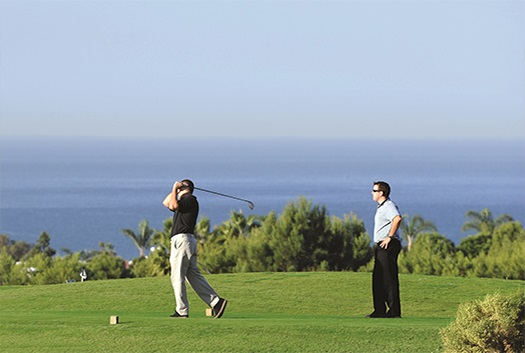


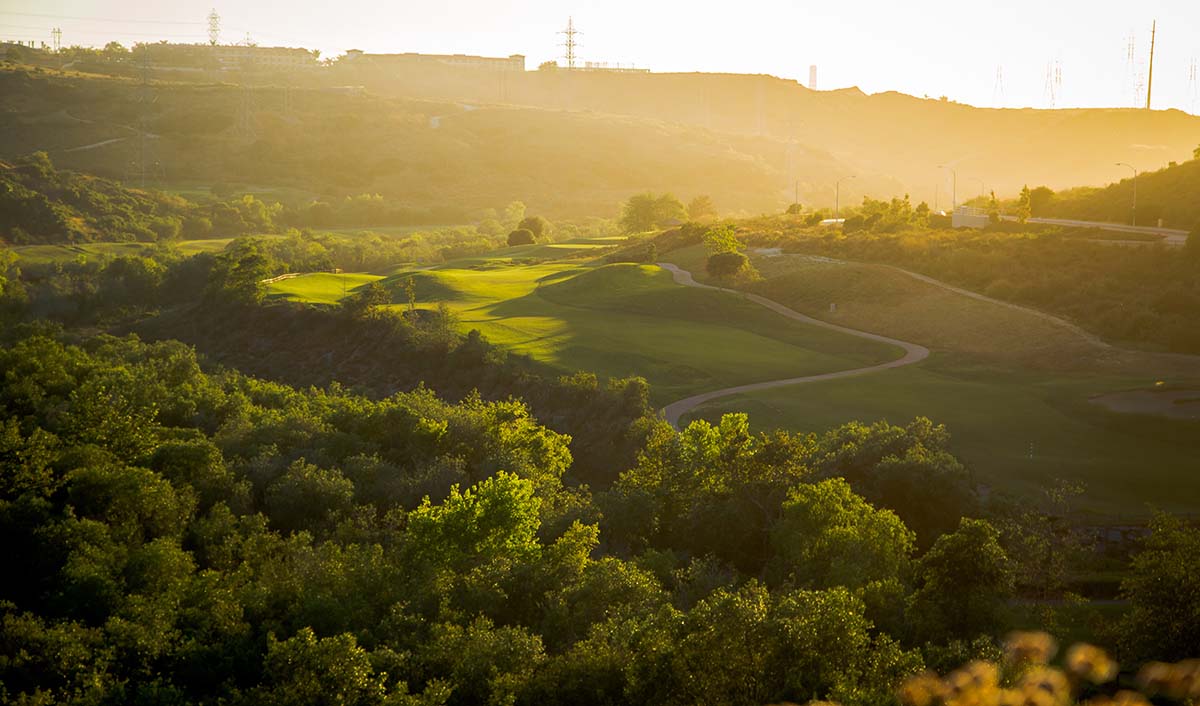
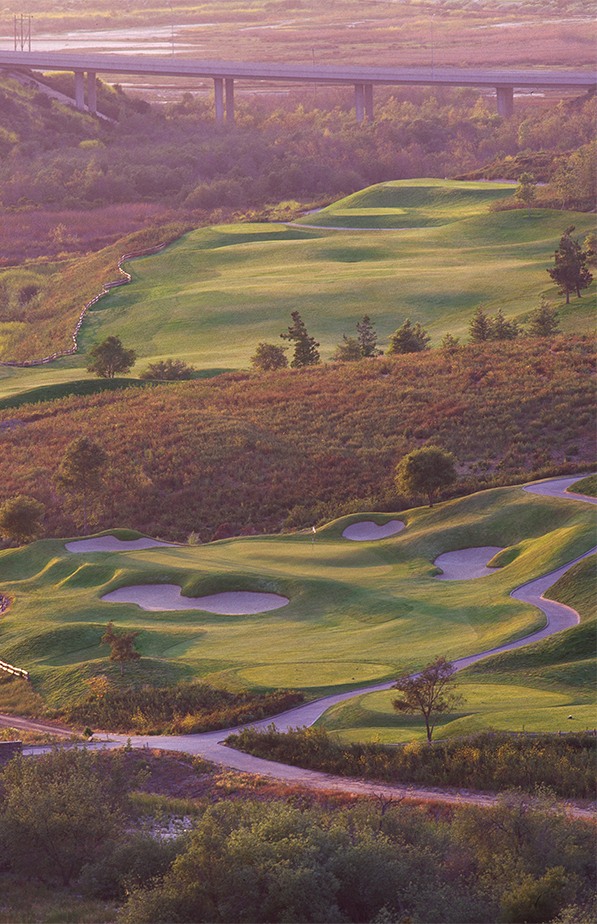
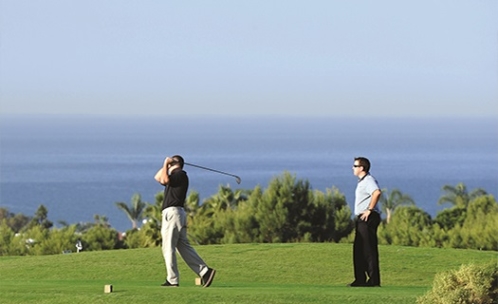
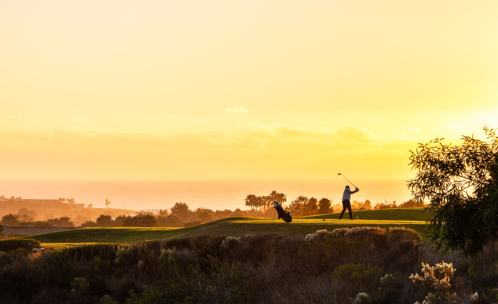
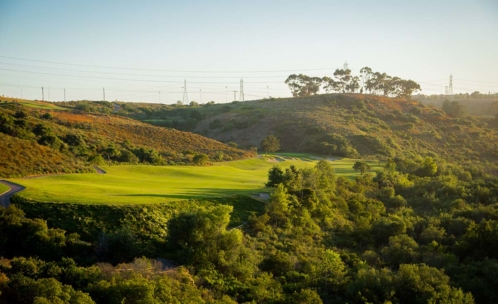
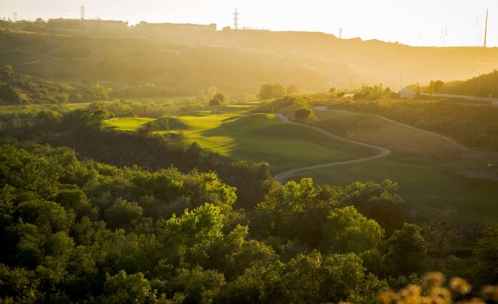
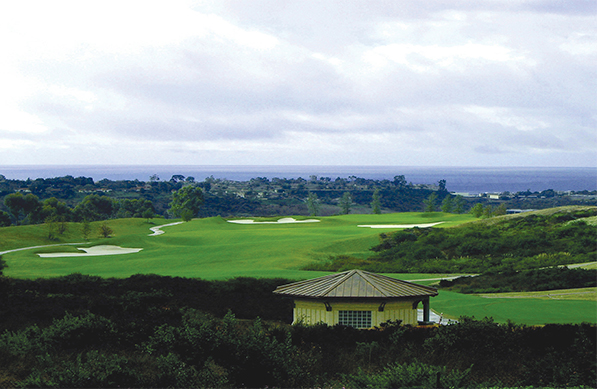
Golf at The Crossings, TCAC
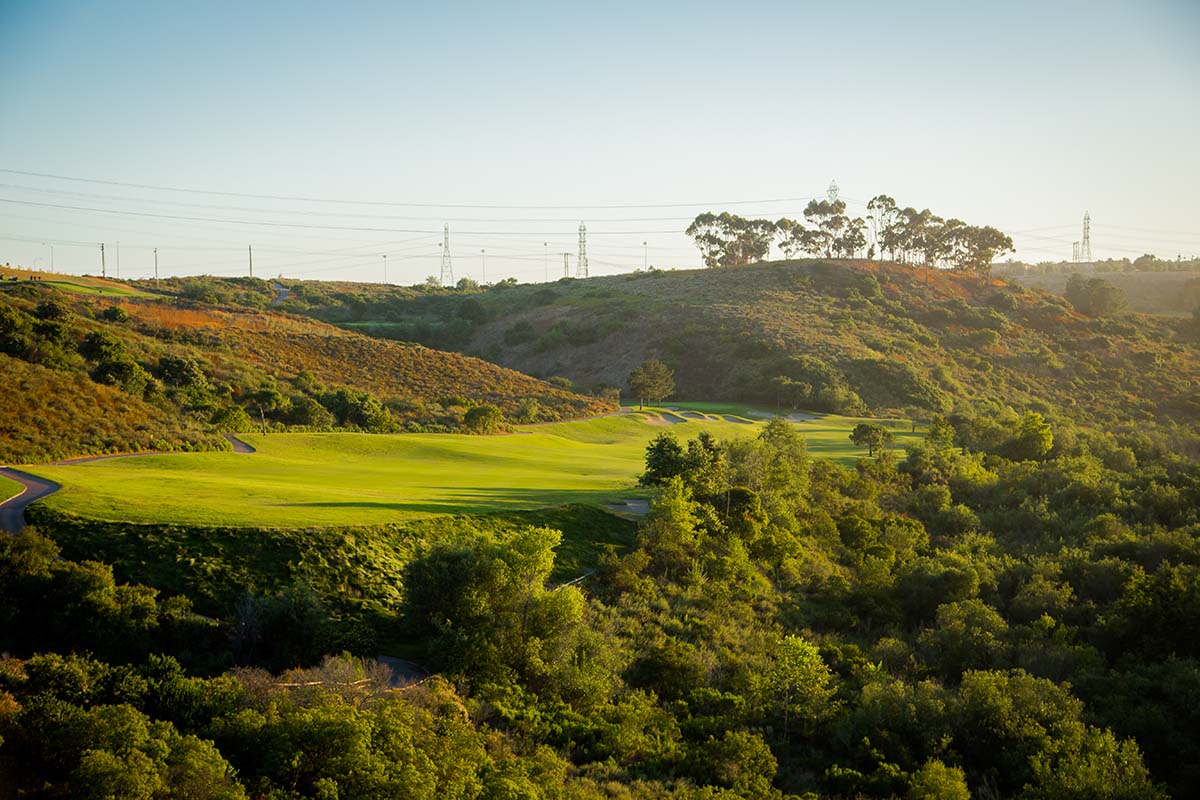
The 6,835 yard public golf course was designed by Greg Nash, a nationally recognized course designer/architect and features multiple options and terrain to challenge golfers of all skill levels. The Crossings at Carlsbad is an 18-hole championship golf course, nestled among the natural habitat and wildlife on more than 400 acres of Carlsbad's coastal terrain and named for the five bridges - or crossings - that were designed into the layout to meet existing environmental and topographic conditions.
Course Pricing
- Carlsbad Residents may book tee-times 30 days out. (Proof of Residency Required)
- JC Players may book tee-times 8 days out.
- Public/So Cal may book tee-times 7 days out.
| Weekday | Friday | Weekend, Holiday |
|
|---|---|---|---|
| Carlsbad Resident | $67 | $76 | $84 |
| Carlsbad Senior (60+) | $57 | $74 | $77 |
| JC Players | $71 | $80 | $88 |
| So Cal Resident | $88 | $98 | $102 |
| So Cal Senior (60+) | $72 | $87 | $91 |
| Public | $112 | $118 | $128 |
| Twilight | $57 | $67 | $72 |
| Super Twilight | $47 | $52 | $57 |
| Junior Public* | $32 | $32 | $37 |
| JC Junior* | $25 | $25 | $30 |
| JC 20/30 Club | $30 | $30 | $40 |
- Rates Subject to Change. Prices include cart.
- *Juniors: Junior Public rates are for players age 15 & under with paid adult. JC Junior rate is only available on a walk-in basis. JC Junior and Public Junior rates valid after 1 pm. JC Juniors must have a valid driver’s license to drive.
- *JC 20/30 Rates:
- Daylight Savings Time (Spring/Summer) Available Mon-Thu after 3:30pm | Fri-Sun after 5:30pm
- Standard Time (Fall/Winter) Available Mon-Thu after 1:30pm | Fri-Sun after 3:30pm
- $15 Cart Fee Required
- *Active Duty Military plays for the Carlsbad Resident Rate.
JC Players Card
Known as the best value in golf, the JC Players Card includes Southern California's finest golf courses and offers over $2,000 in golf deals and discounts.
Benefits Include:
- 5 rounds
- 2 bonus rounds*
- Unlimited golf on the day of your birthday
- 9 discounted guest passes at the JC Player rate
- Preferred Partner benefits
- 5 tokens for small bucket of range balls
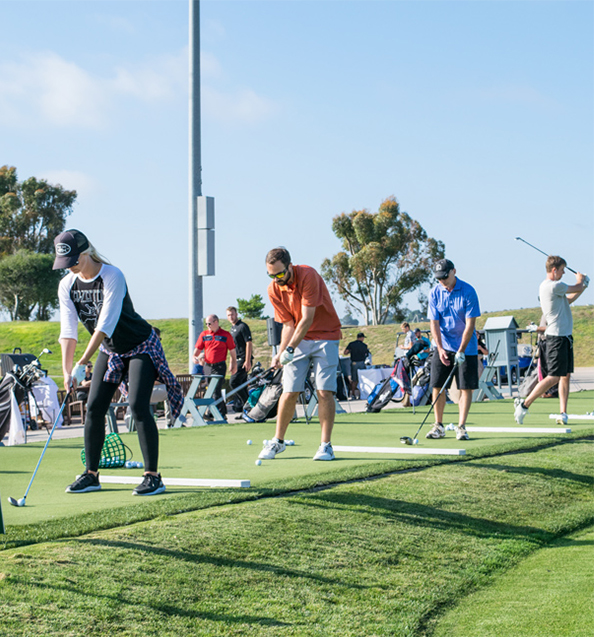
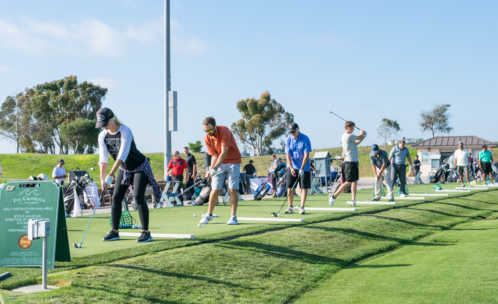
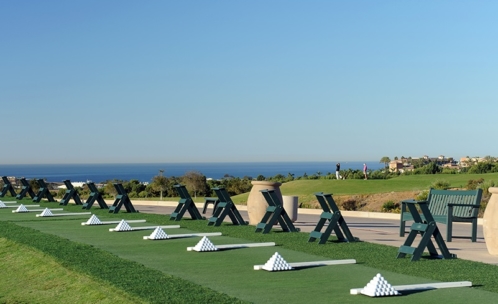
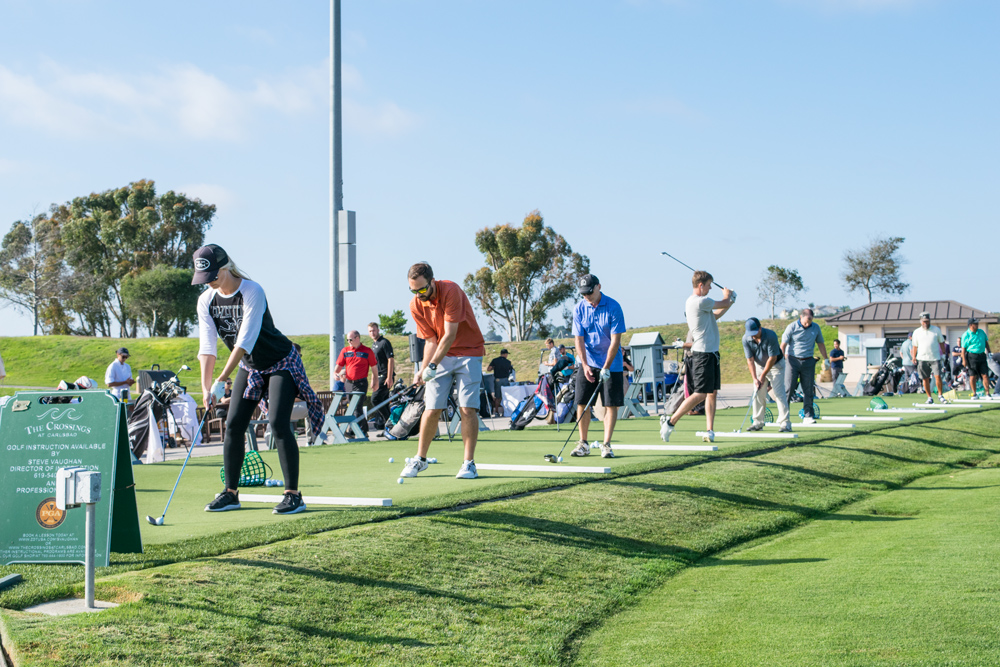
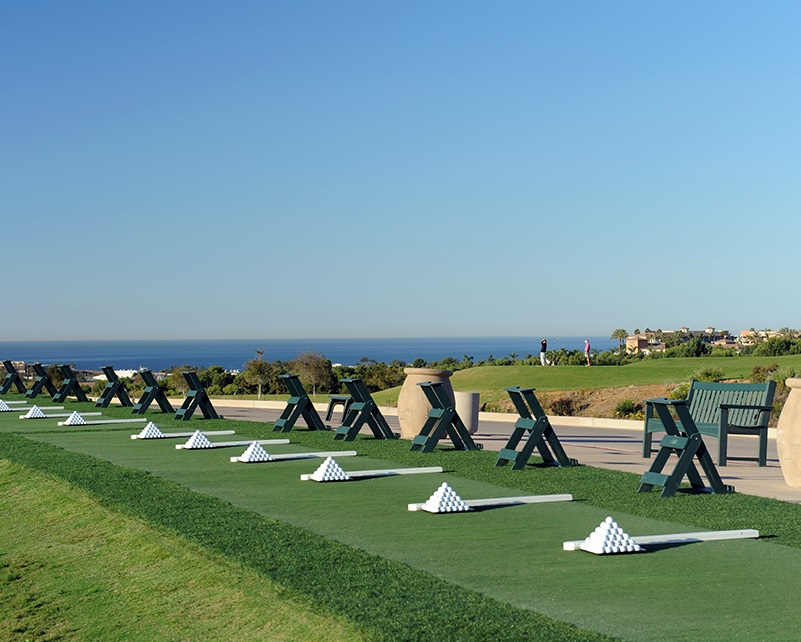
Practice Facility
Improve your golf game and enjoy our state-of-the-art Practice Center featuring new tee-line technology, a lighted driving range, large putting green, chipping green, and practice bunker.
Opens at Sunrise Daily (Except Thursdays, opens at 8:00am)
Last Bucket Sold at 7:00 PM Daily (Except Wednesdays, Last Bucket Sold at 5:30pm)
*Starting April 1st, the Last Bucket will be sold at 7:30 PM, with the exception of Wednesdays.
Sunday-Friday: Hitting from Mats Only
Saturday: Hitting from Grass
Small Bucket (~25 Balls) - $5
Medium Bucket (~65 Balls) - $11
Large Bucket (~100 Balls) - $14
*Hours are subject to change due to maintenance or inclement weather. For more information, call the Pro Shop at (760) 444-1800 x2
Stay & Play Partners
Playing golf in Carlsbad has never been easier. With our out-of-town guests in mind, The Crossings at Carlsbad has partnered with local hotels and resorts located within a 10 minute drive.
For Stay & Play rates and tee time reservations, call the pro shop at 760-444-1800 ext. 1. Mention your tee time at the time of booking that you are staying with one of our Stay & Play Partners and receive our special Hotel Partner Rates. Must present room-key at check-in or other form of proof of hotel reservation.

Rental Clubs
Men’s Clubs: The latest Stealth Irons and Woods from TaylorMade. Play like a PGA Pro when you rent clubs at The Crossings, but be careful, you might just fall in love with them.
Women’s Clubs: The latest Kalea Irons and Woods from TaylorMade. Play like an LPGA Tour Member with the latest technology and that true comfort feel.
Rental set rates: $65 before twilight | $45 after twilight | Includes 2 complimentary sleeves of TaylorMade Tour Response golf balls ($20 Value)
Course Holidays For 2024
The following dates will be considered Course Holidays for 2024. This means our Saturday & Sunday greens fees will apply to these dates, regardless of the day of the week they fall on. In addition, we will not accept complimentary round vouchers or JC Weekday Coupons on these dates.
Jan 1 - New Year’s Day
Jan 15 – Martin Luther King Jr Day
Feb 19 – Presidents Day
May 27 – Memorial Day
Jul 3-5 – Independence Day
Sep 2 – Labor Day
Nov 27-29 – Thanksgiving/Black Friday
Dec 20- Jan 1 – Christmas & New Year
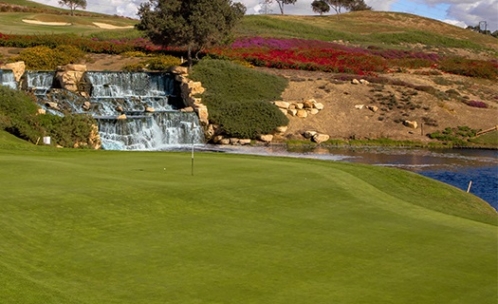
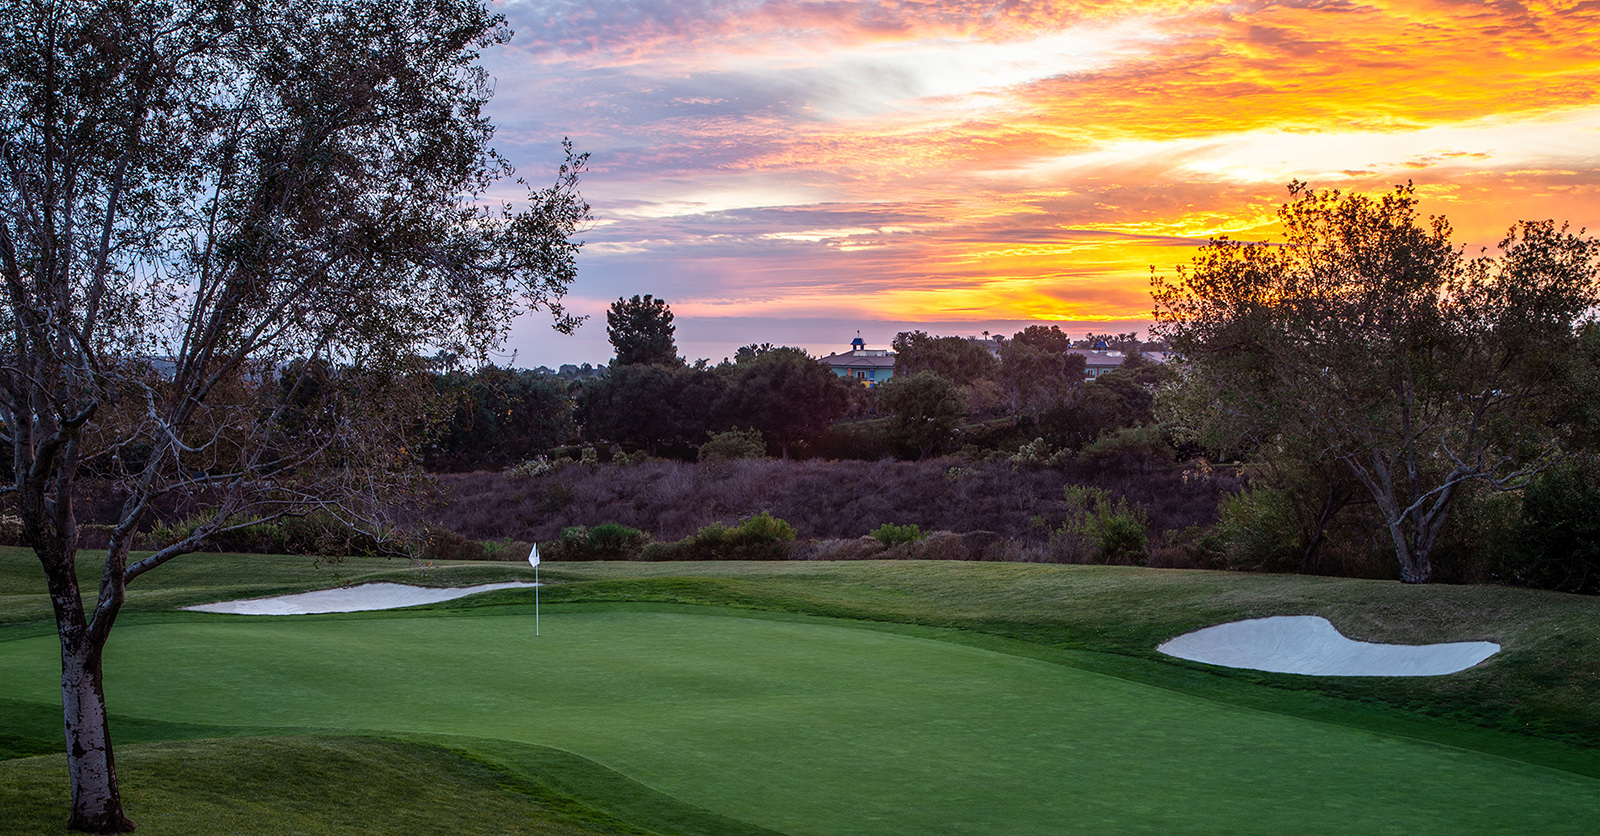
Course Features
The course and its design offer an array of features including:
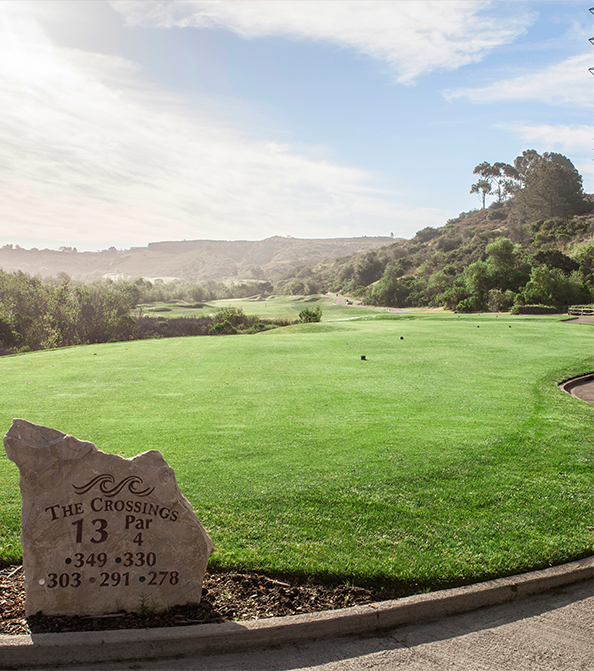
- Five separate teeing areas at each hole, allowing golfers to determine not only the length of the hole but also the manner in which they play it.
- Generous fairways and large greens with numerous pin placement options
- State-of-the-art amenities
- Electric golf carts for transportation along the seven-mile cart path that meanders about the course
Course Record: August 23, 2012 by Chris Williams – 63
Golf Tournaments
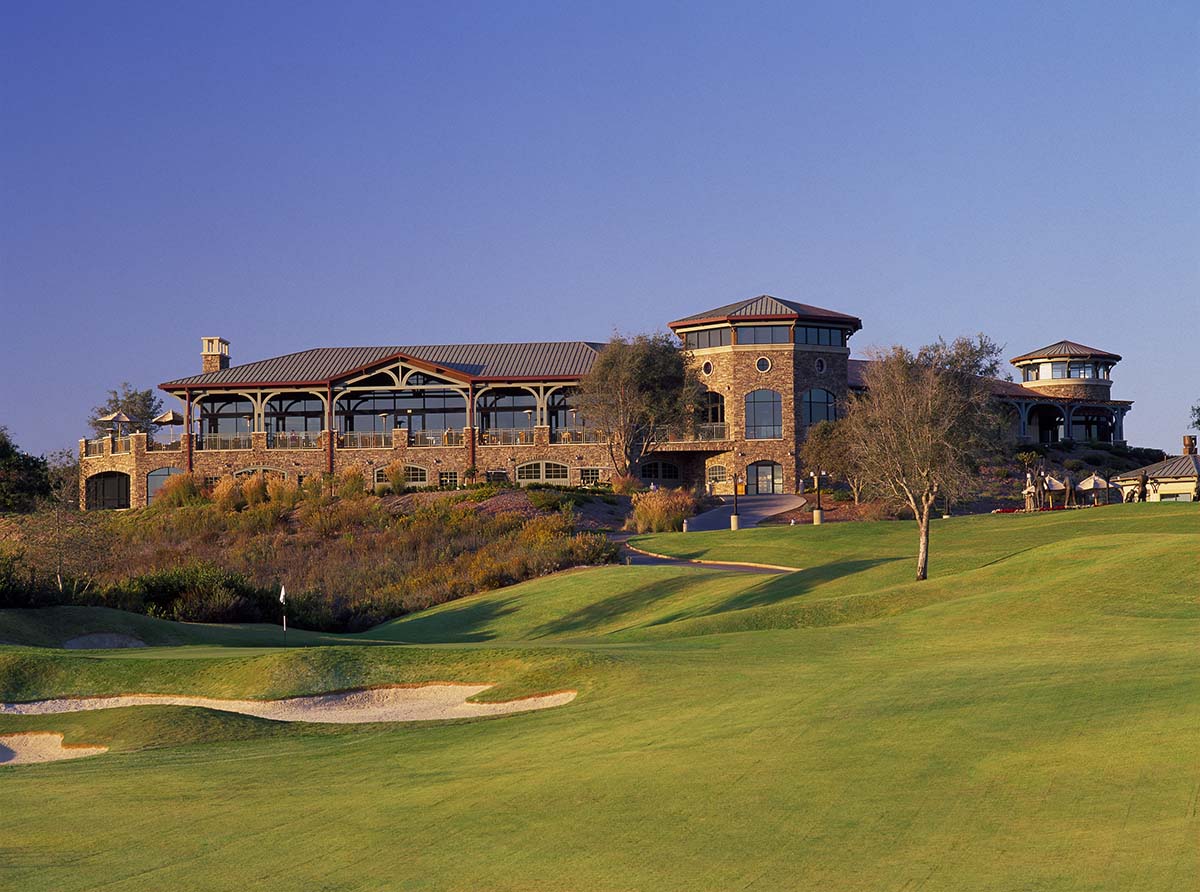
The Crossings is the perfect choice for hosting a golf tournament, with its signature service combined with excellent course conditions and pricing that provides one of the most competitive values in the Southern California golf market. In addition, The Crossings offers an impressive clubhouse with over 28,000 sq. ft. and spectacular views of the Pacific Ocean and Carlsbad. Your tournament guests will experience personalized service, fantastic cuisine and breathtaking views. Contact our Tournament Sales Director for more information on how to host your next tournament or outing.
Whether you have 20 players or 144 players, The Crossings at Carlsbad has the amenities & the banquet space necessary to make your golf tournament a successful and memorable golfing experience. Ask about customizing your tournament to make it a memorable day by including add-on services such as a short game contests, customized logo merchandise and more.
Contact: Scott Butler, Tournament Sales Director
Call: 760-591-3248
Email: sbutler@jcresorts.com
Golf Lessons
Whether you are brand new to the game of golf or a seasoned golfer, there is always room to improve your game. Contact one of our PGA Professionals today to learn more about getting lessons and taking your game to the next level.
Jeff Richter, Head Golf Professional
760-444-1811
jrichter@jcresorts.com
Gary Matthews, First Assistant Golf Professional
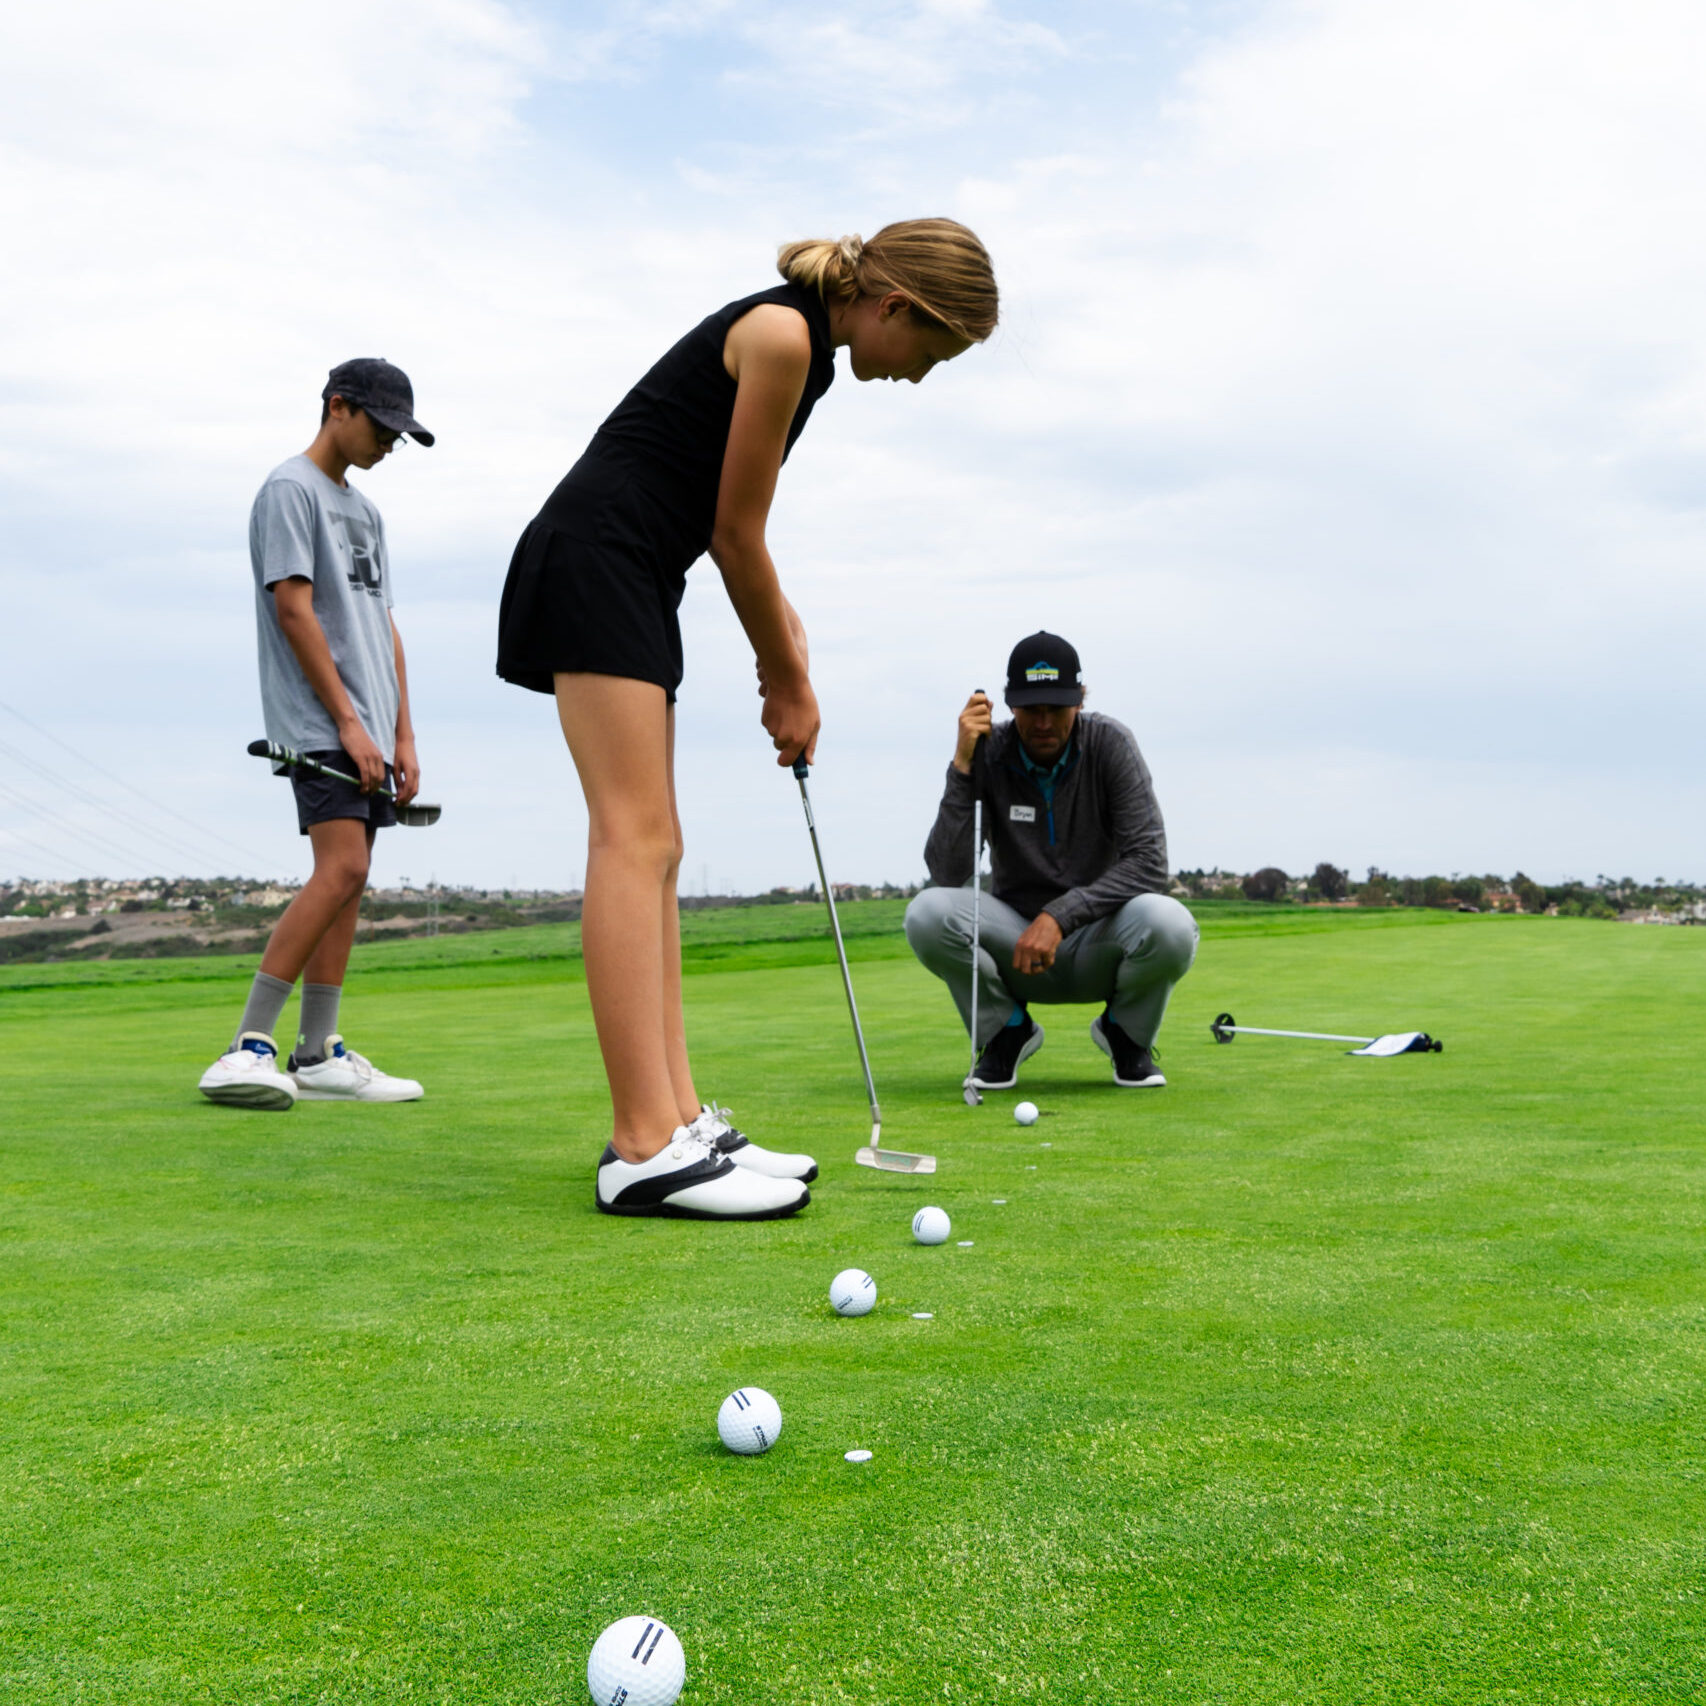
Junior Golf Clinics & Summer Camp
Carlsbad Junior Golf Clinics
Tuesday through Thursday Weekly Clinics. Morning and Afternoon Sessions Available. Perfect for all skill levels! LEARN MORE
Ages 6-17. Sign up through the City of Carlsbad Summer Camp Program.
Upcoming Events

TaylorMade Fitting Day
April 19th
Junior Golf Camp
April 20th
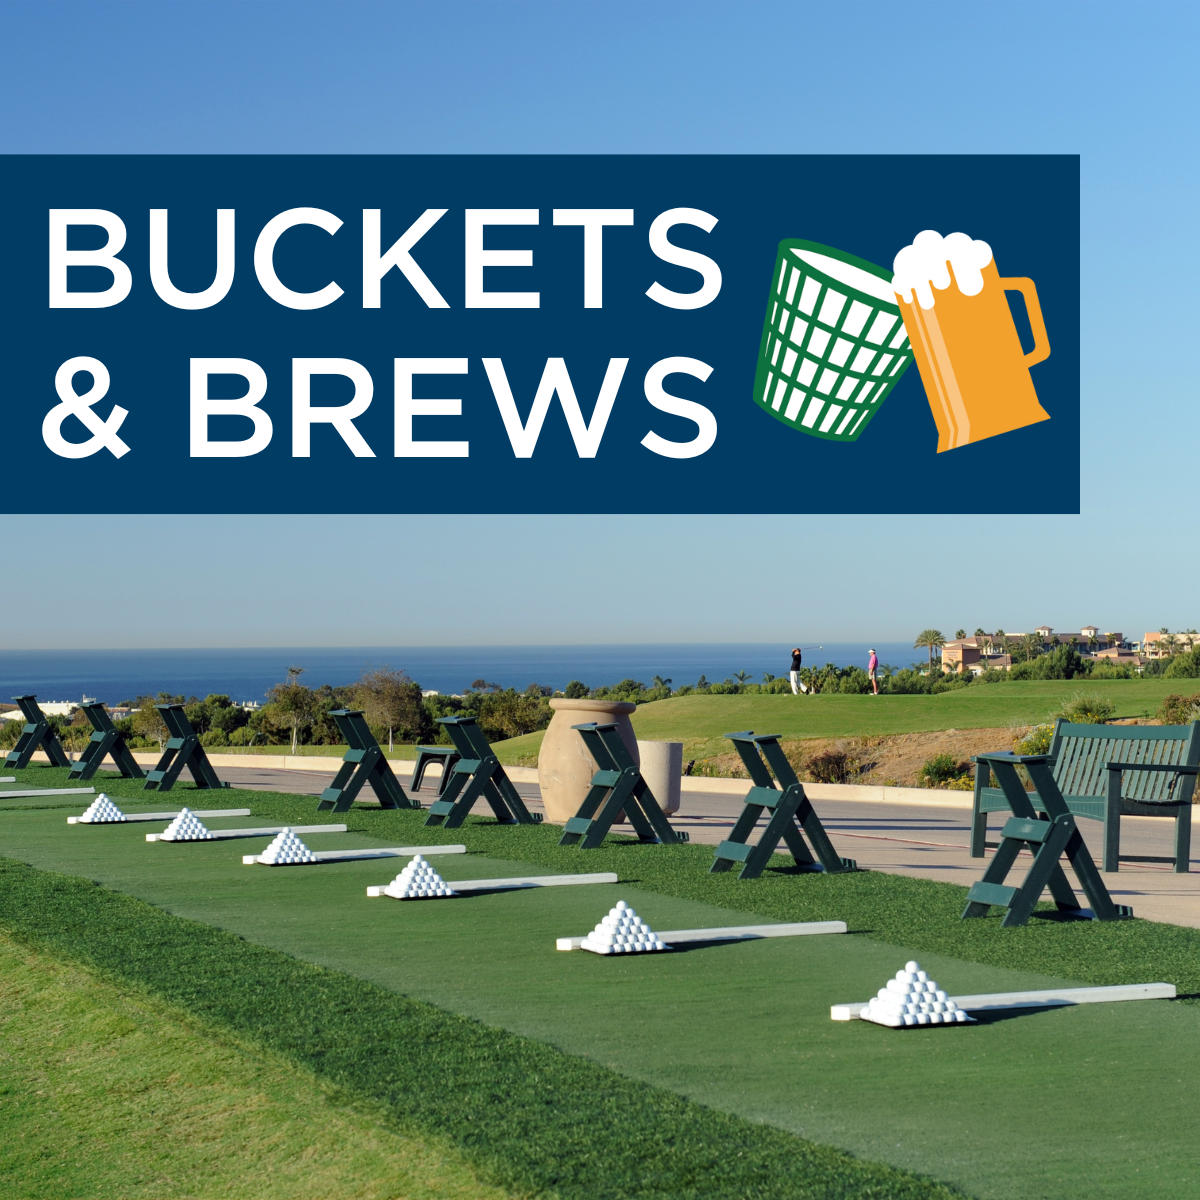
Buckets & Brews
April 25th
Junior Golf Camp
April 27th
Buckets & Brews
May 2nd
Junior Golf Camp
May 4th